Power flushing is one of the most effective ways to restore the performance of your central heating system. If your radiators are cold at the bottom, your system is noisy, or your heating feels sluggish, a power flush may be just what you need. Preparing correctly ensures the process is safe, efficient, and delivers long-lasting results. This guide walks you through every step.
How to Prepare for a Power Flush in Your Home
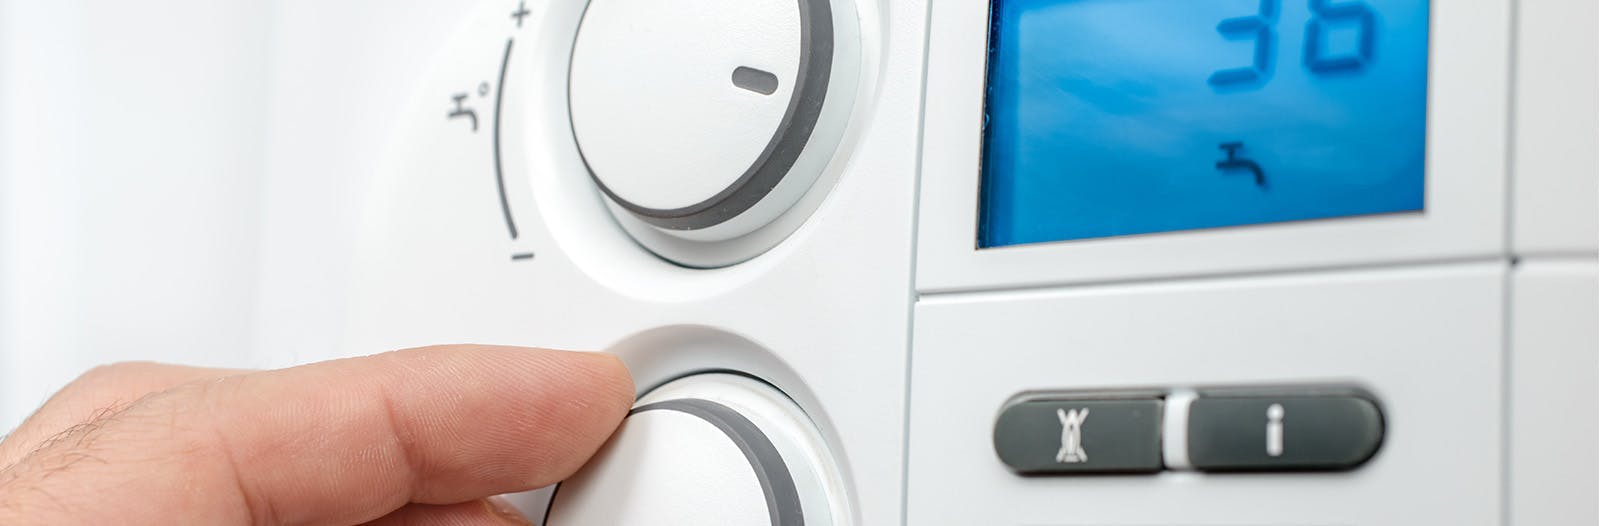
Step 1: Prepare the Central Heating System
If you have an open-vented system, start by isolating the feed and expansion pipes. This prevents fresh water from entering the system during the flush and keeps the process focused on cleaning the heating circuit.
Protect your home by laying down dust sheets or old towels around the work area, especially near the boiler, radiators, and where connections will be made. This helps minimise any risk of water damage from leaks or spills.
Step 2: Connect the Power Flush Machine
Follow the machine manufacturer’s instructions carefully when connecting to your heating system. For most open-vented setups, connection is made at the circulation pump or its flanges.
Ensure hoses for waste discharge and overflow are tightly secured and lead to a suitable drain. Double-check all fittings to prevent leaks once the machine is running.
Step 3: Fill the Machine with Warm Water
Warm water helps to break down sludge more effectively. Fill the power flush machine to its indicated level to ensure consistent performance during the entire process.
Step 4: Begin the Flush
Fully open all radiator valves to allow unrestricted flow. Turn on the machine and begin circulating water. Reverse the flow regularly using the machine’s lever—this is essential to dislodge stubborn deposits from multiple directions.
Let the system flush for 10 to 15 minutes before draining the dirty water. Repeat the process with clean water until it runs clear from the system.
Step 5: Add Chemicals
Introduce a high-quality cleaner and corrosion inhibitor (like SYSTEMSAFE DM) to maximise the benefits. The cleaner helps break down any remaining debris, while the inhibitor protects your system from future corrosion and sludge build-up.
Allow the additives to circulate for the manufacturer’s recommended time to ensure they reach every part of the system.
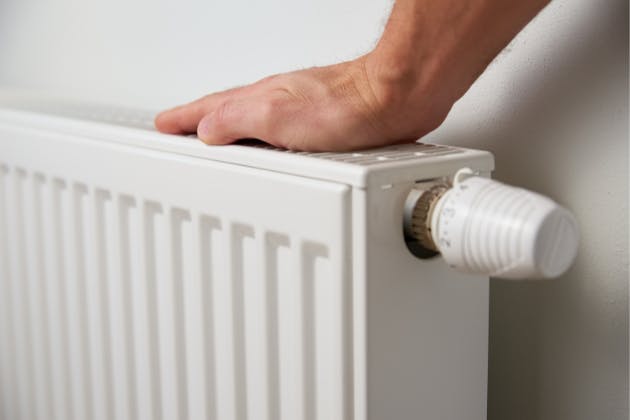
Step 6: Test the Heating System
Use an infrared thermometer to check for consistent heat across each radiator. Run the heating through a full cycle and listen for unusual noises. If any radiators are still cold or noisy, this may signal further issues needing attention.
Step 7: Disconnect and Clean Up
Turn off the machine and safely drain any remaining water. Disconnect all hoses and fittings. Carefully remove dust sheets and check for any signs of leaks or splashes around connection points and radiators.
Step 8: Document the Service
Complete a power flushing certificate, noting the chemicals used, the date, and any findings. Leave a copy with the homeowner and keep a record for future servicing, warranty compliance, or if the property is later sold.
Need a professional power flush in Gillingham, Sittingbourne, Maidstone or Tunbridge Wells?
Aquatech offers expert power flushing services to improve the efficiency and lifespan of your central heating system. Call us on 01634 768050 or 075400 53343, or fill out our contact form to get started today.